How to Inspect a Hydraulic Piston and Change the O-Ring and Oil Seal: A Complete Guide
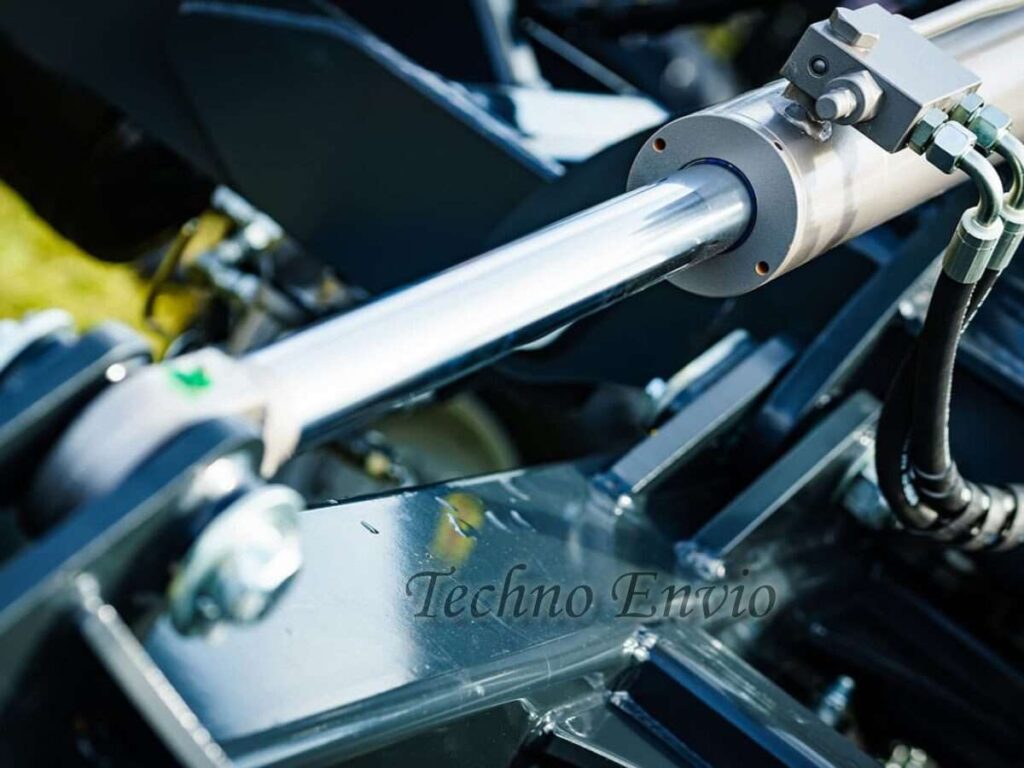
Hydraulic piston cylinders are essential components in many industrial machines, injection molding systems, construction equipment, and manufacturing lines. Over time, their internal parts—especially the O-ring and oil seal—wear out, leading to leaks, reduced pressure, and performance issues.
If you’ve noticed hydraulic oil leaking, unusual movement, or reduced efficiency, it may be time to inspect your hydraulic piston and replace the seals.
This guide walks you step-by-step through the process, even if you’re a beginner.
Why Hydraulic Piston Need Regular Inspection
Hydraulic pistons face constant pressure, abrasion, and exposure to high-temperature oil. Over time:
-
O-rings become brittle or flattened
-
Oil seals lose elasticity
-
Dirt particles scratch piston surfaces
-
Rods bend or show wear
-
Oil contamination affects seal performance
Regular inspection helps prevent major breakdowns, reduces downtime, and extends the lifespan of your equipment.
Tools and Materials You Will Need
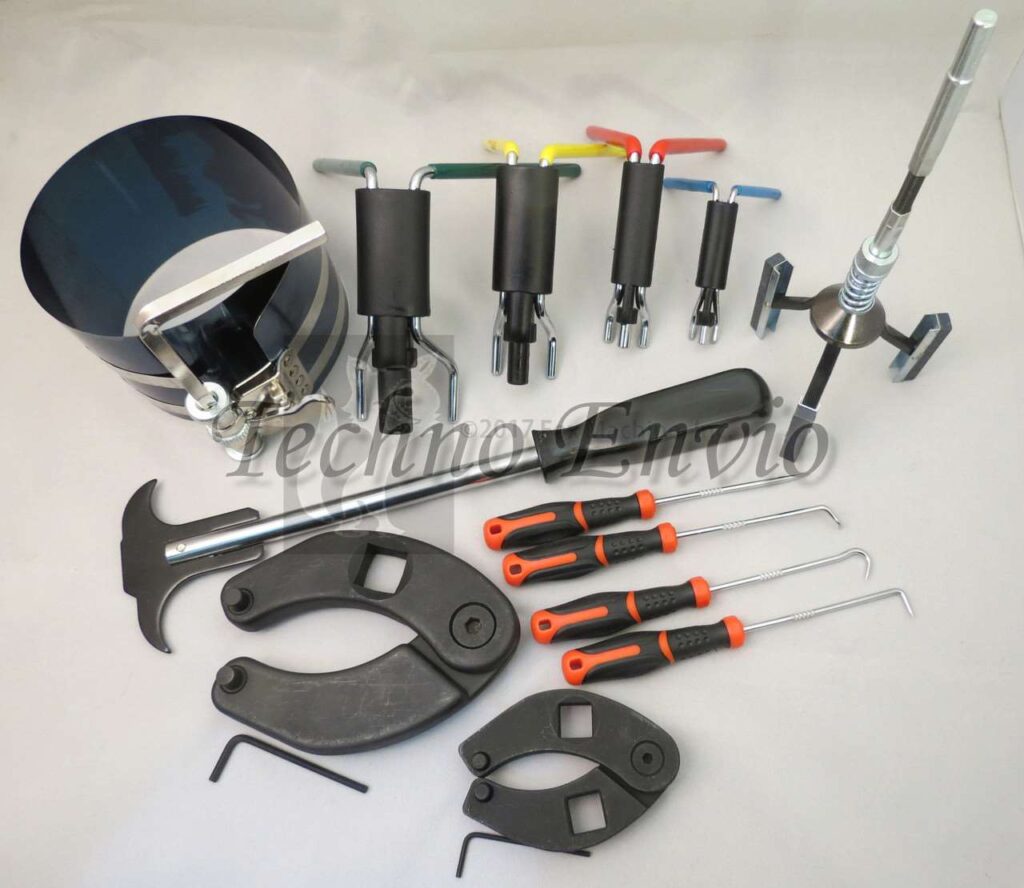
Before starting, prepare the following:
Tools
-
Allen keys / hex keys
-
Socket wrench set
-
Soft-faced hammer
-
Snap ring pliers
-
Screwdriver set
-
Clean cloths
-
Pick tools for removing O-rings
-
Torque wrench (recommended)
Materials
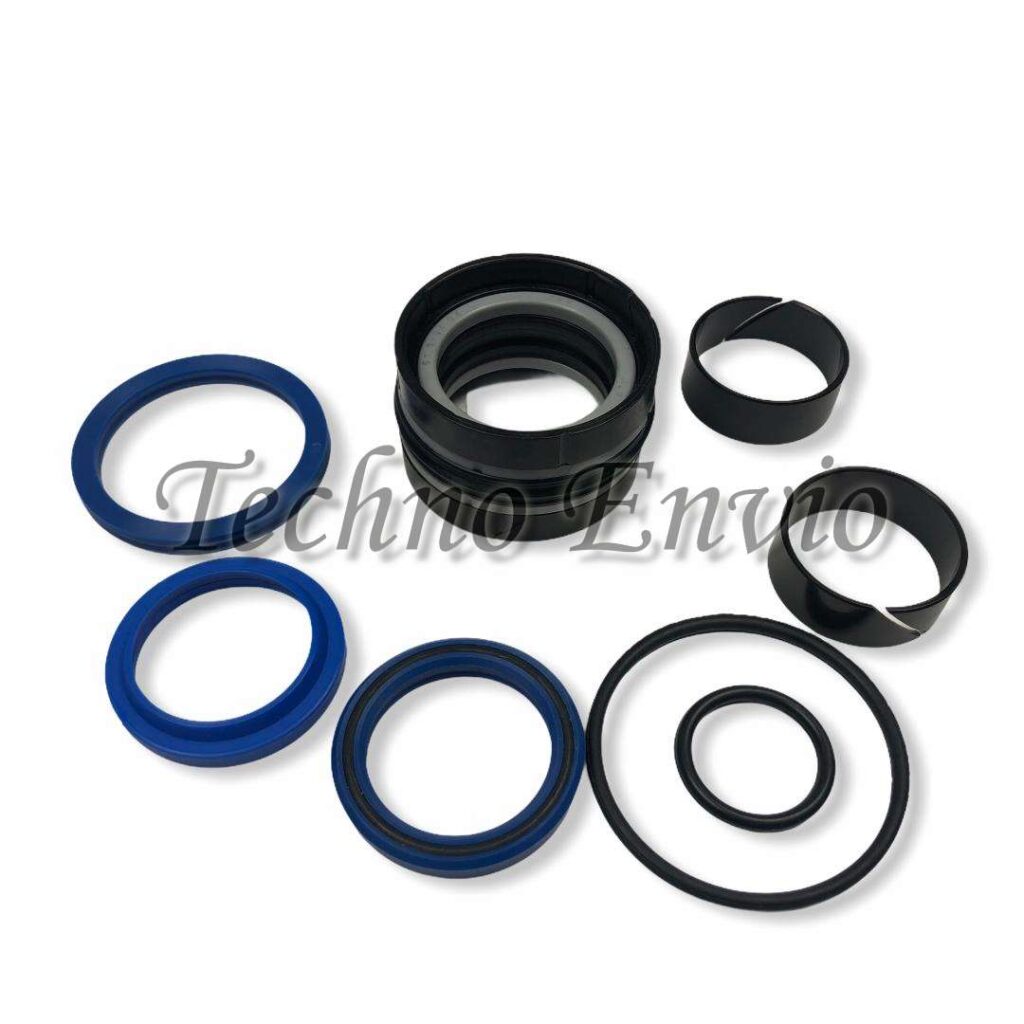
-
New O-ring (exact size required)
-
New oil seal
-
Clean hydraulic oil
-
Grease or lubricant
-
Cleaning solvent (non-corrosive)
Step-by-Step: How to Inspect a Hydraulic Piston
1. Ensure Safety First
-
Disconnect the machine from power.
-
Release all hydraulic pressure.
-
Place the cylinder on a clean workspace.
-
Wear gloves and safety glasses.
Never open a pressurized hydraulic system—this can be very dangerous.
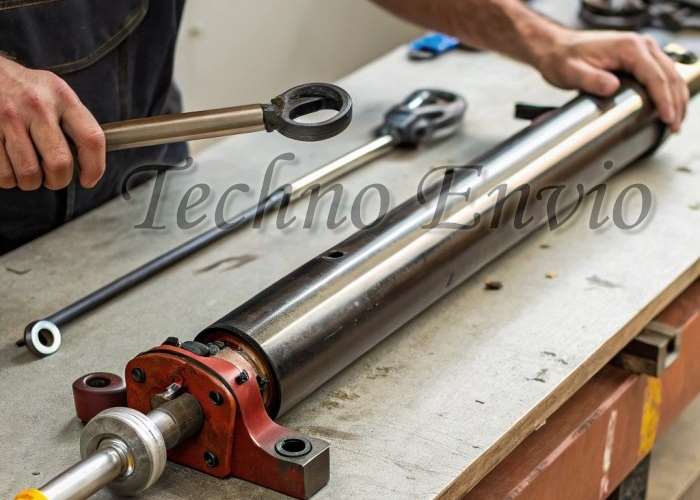
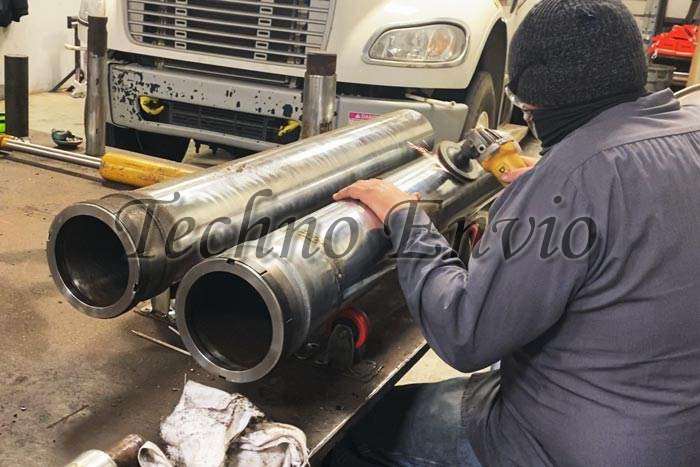
2. Remove the Hydraulic Piston Cylinder

Depending on your machine, disconnect:
-
Hydraulic hoses
-
Mounting pins/bolts
-
Rod end connections
Label hoses to avoid confusion during reassembly.
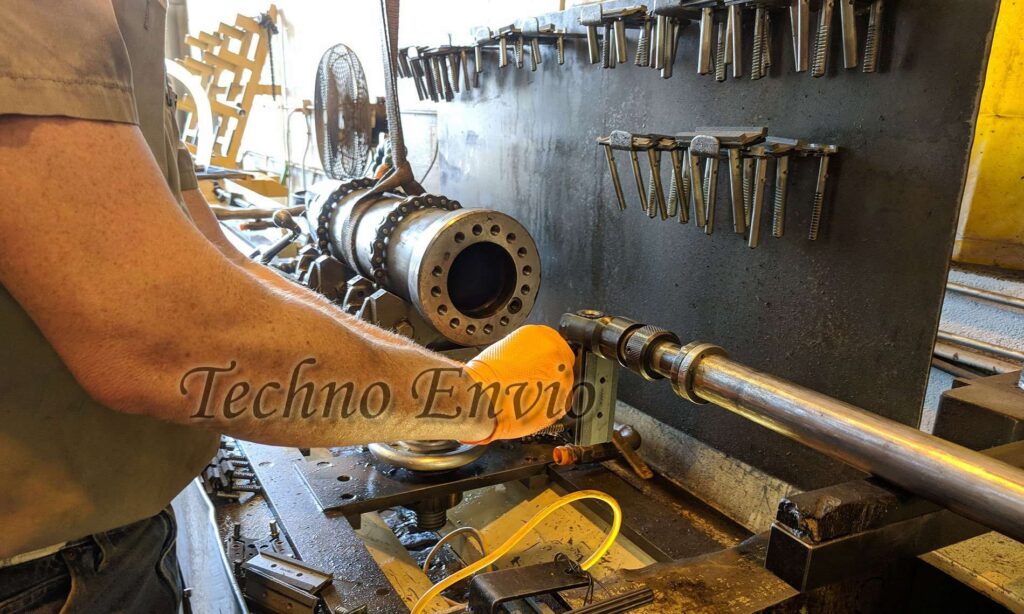
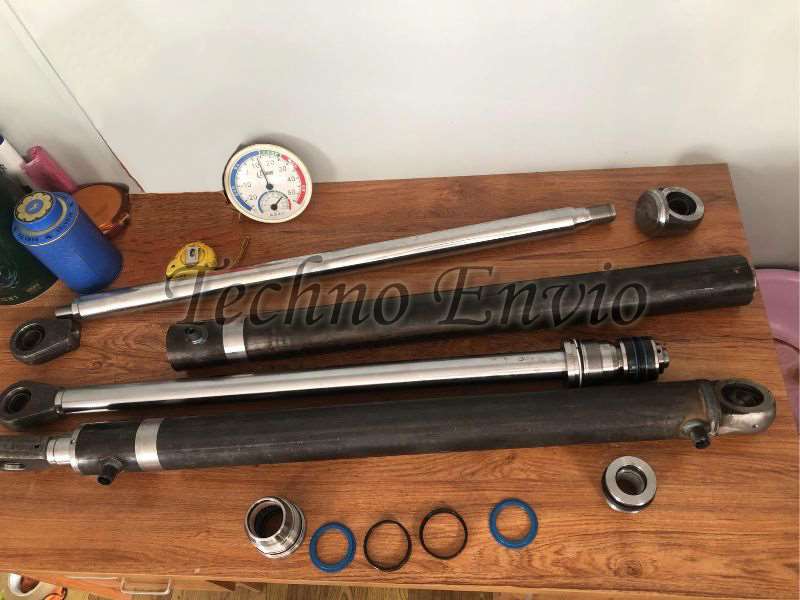
3. Disassemble the Cylinder

Follow these steps:
-
Remove the end cap using a wrench or spanner.
-
Slide out the piston and rod assembly slowly.
-
Use snap ring pliers to remove any retaining rings.
-
Carefully separate the piston from the rod if needed.
Place all parts on a clean surface and avoid scratches.
What to Inspect in the Hydraulic Piston
Carefully inspect these components:
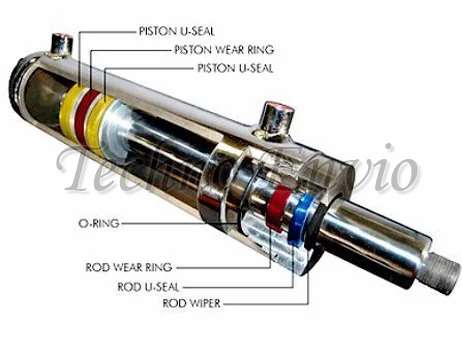
1. O-Ring Condition
Look for:
-
Cracks
-
Flattening
-
Hardening
-
Cuts or chunks missing
If any issue is found, replace it.
2. Oil Seal Condition
An oil seal that needs replacement will show:
-
Tears or cuts
-
Hardness
-
Loss of elasticity
-
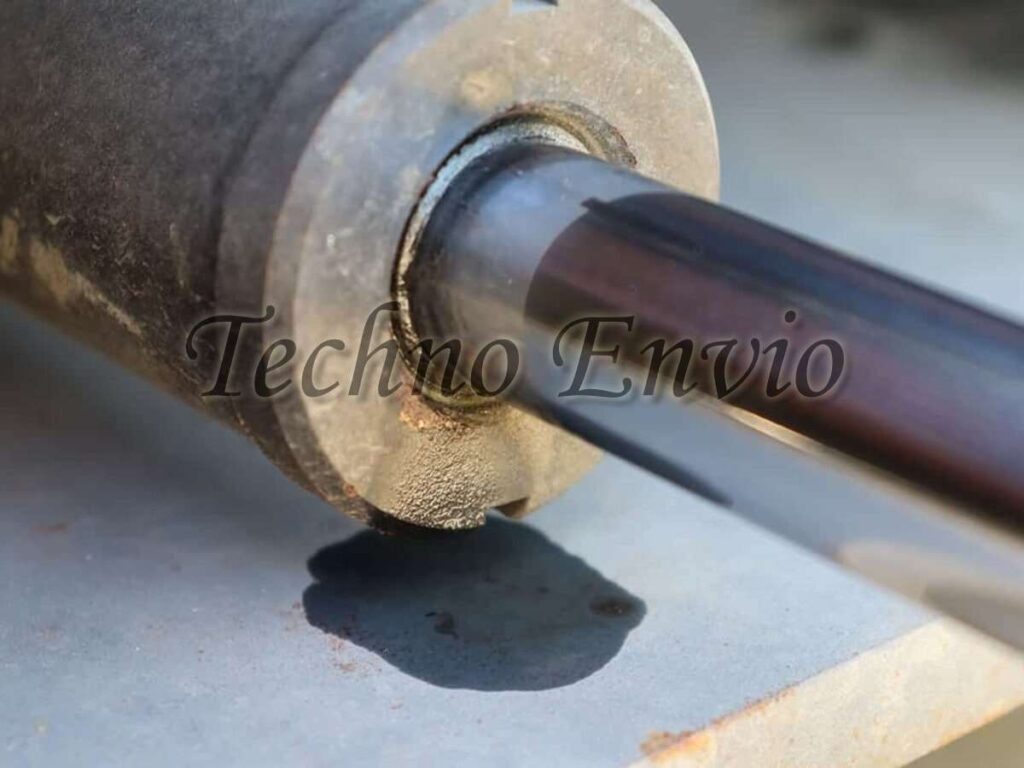
Oil leakage marks
3. Piston Rod
Check for:
-
Scoring
-
Rust
-
Bent areas
-
Rough surfaces
Polish minor scratches; replace severely damaged rods.
4. Cylinder Barrel
Inspect the inner wall:
-
Look for deep scratches
-
Check for wear marks
-
Ensure a smooth surface
Severely damaged barrels should be repaired or replaced.
5. Piston Head and Wear Rings

Check:
-
Surface smoothness
-
Cracks
-
Broken or worn wear rings
Replace worn parts to ensure proper alignment.
How to Replace the O-Ring and Oil Seal
Replacing these parts restores sealing efficiency and stops leaks.
Step-by-Step: Replacing the O-Ring
-
Use a small pick tool to gently remove the old O-ring.
-
Clean the groove using solvent and a cloth.
-
Lightly lubricate the new O-ring with hydraulic oil.
-
Install the new O-ring without twisting or stretching it too much.
-
Ensure it sits evenly in the groove.
Step-by-Step: Replacing the Oil Seal
-
Remove the old seal using a screwdriver or seal puller.
-
Clean the seal housing thoroughly.
-
Lightly coat the new seal with oil or grease.
-
Press the seal evenly using a soft-faced hammer or a seal driver.
-
Ensure the lip faces the correct direction (toward the oil pressure side).
Incorrect orientation is a common reason for seal failure.
Reassembling the Hydraulic Piston Cylinder
After replacing the seals:
-
Lubricate the piston and rod.
-
Insert the piston back into the cylinder slowly.
-
Install the end cap and tighten to the recommended torque.
-
Reconnect hoses and mounting hardware.
-
Bleed air from the system by cycling the cylinder slowly.
Testing the Cylinder After Repair
Once installed:
-
Check for leaks around the seals.
-
Run the cylinder under low pressure first.
-
Listen for unusual noises.
-
Ensure smooth motion throughout the stroke.
If the movement is jerky, there may still be air inside.
Pro Tips for Longer Seal Life
-
Keep hydraulic oil clean—contaminated oil destroys seals.
-
Use correct seal sizes (don’t guess; measure).
-
Avoid over-tightening the end cap.
-
Store spare seals in a cool, dry place.
-
Protect the piston rod from dust and scratches.
Conclusion
Inspecting a hydraulic piston and replacing the O-ring and oil seal is a practical maintenance task that can save you from costly breakdowns. With careful disassembly, proper inspection, and correct seal installation, your hydraulic system will run smoothly and efficiently.
This guide provides all the steps needed—even for beginners—to confidently perform basic hydraulic maintenance.
FAQ
1. How often should hydraulic piston seals be replaced?
Most seals last 1–3 years, depending on working conditions, oil quality, and equipment usage.
2. What causes O-rings and oil seals to fail?
Common causes include:
-
Dirty hydraulic oil
-
Excessive temperature
-
Improper installation
-
Poor-quality seals
-
Mechanical wear or scratches on the rod
3. Can I reuse an O-ring or oil seal?
No. Once removed, seals should always be replaced.
4. Why is my hydraulic cylinder still leaking after seal replacement?
Possible reasons:
-
Wrong seal size
-
Damaged piston rod
-
Improper seal installation
-
Scratches inside the cylinder
-
Excessive system pressure
5. Can beginners perform hydraulic seal replacement?
Yes, but only with proper safety precautions and following a step-by-step guide like this one.
6. What lubricant should I use for installing seals?
Use clean hydraulic oil or compatible assembly grease. Avoid petroleum grease unless recommended.