Injection Molding Machine Setup for Beginners: A Step-by-Step Guide
If you’re venturing into the world of injection molding, setting up your machine correctly is crucial for producing high-quality parts. Whether you’re a small business owner or a hobbyist, understanding the setup process can seem daunting at first. Fear not! This guide will walk you through the essential steps to set up your injection molding machine and troubleshoot common issues.
What is Injection Molding Machine?
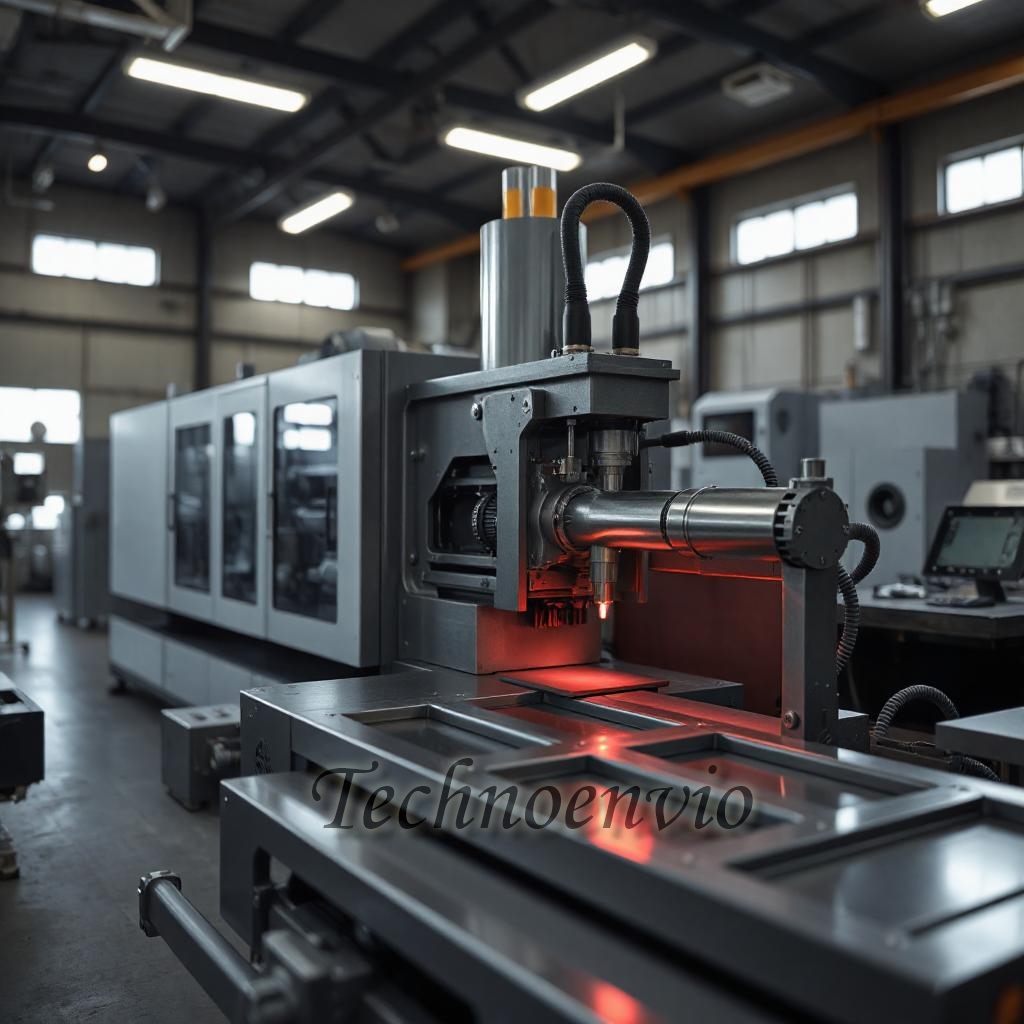
Injection molding is a manufacturing process that involves injecting molten material—usually plastic—into a mold to create a part. This technique is widely used in various industries, including automotive, consumer goods, and medical devices, due to its efficiency and versatility.

Step-by-Step Setup Process
Step 1: Gather Your Tools and Materials
Before you begin, ensure you have all necessary tools and materials at hand:
- Injection molding machine
- Molds (specific to your part design)
- Plastic pellets
- Temperature control unit
- Safety gear (gloves, goggles)
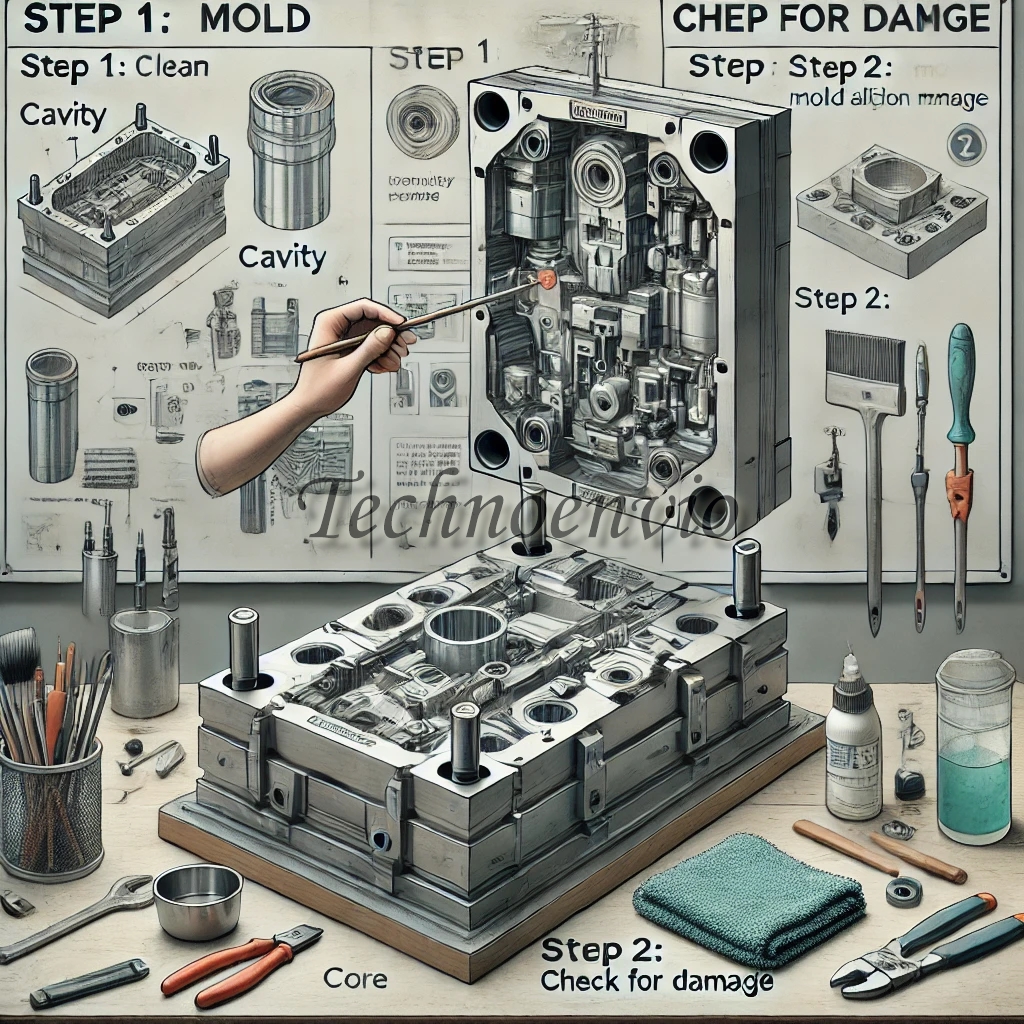
Step 2: Prepare the Mold
- Clean the Mold: Ensure that the mold is free from debris and contaminants. Any foreign material can lead to defects in the final product.
- Secure the Mold: Position the mold securely in the machine, ensuring that it fits properly into the clamping unit. Use the locking mechanisms to hold it in place.

Step 3: Set Up the Machine
- Power On the Machine: Connect the injection molding machine to a power source and turn it on. Allow the machine to perform self-checks, if applicable.
- Set Temperature: Adjust the temperature settings according to the type of plastic you’re using. Each material has a specific melting point, so refer to the manufacturer’s guidelines.
- Adjust Injection Pressure: Set the injection pressure based on the mold design and material. This will determine how quickly and forcefully the material is injected into the mold.
- Select Cycle Time: Establish the cycle time, which includes injection, cooling, and ejection phases. This setting will vary based on the complexity of the part and the material.
Step 4: Load the Material
- Fill the Hopper: Add the appropriate plastic pellets to the hopper. Make sure to use the right type of material for your mold design.
- Prime the Machine: Allow the machine to run until the plastic pellets melt and flow into the barrel. This step ensures that the material is ready for injection.

Step 5: Run the First Test Cycle
- Initiate the Cycle: Start the injection process and monitor the machine as it operates. Pay attention to pressure readings and temperature fluctuations.
- Inspect the Part: Once the cycle is complete, carefully remove the mold and inspect the first part. Check for defects, such as air bubbles, incomplete filling, or surface imperfections.
- Make Adjustments: If you notice any issues, make necessary adjustments to the temperature, pressure, or cycle time. Repeat the test cycle until you achieve the desired results.
Step 6: Final Adjustments and Production
- Optimize Settings: Once you’re satisfied with the test part, optimize the settings for larger production runs. This may involve fine-tuning temperatures and pressures based on the feedback from the test parts.
- Start Production: Begin your production run, keeping an eye on quality control. Regularly check parts for consistency to ensure that your process remains stable.
Troubleshooting Common Issues
- Short Shots: If your parts aren’t fully filling, increase the injection pressure or adjust the temperature.
- Warpage: Ensure even cooling and consider adjusting the cooling time.
- Surface Defects: Check the mold for cleanliness and ensure it’s properly designed for the material being used.
FAQ:
1. What materials can I use in injection molding?
Common materials include thermoplastics like ABS, polycarbonate, and polypropylene. Your choice will depend on the application and desired properties.
2. How long does it take to set up an injection molding machine?
Setup time can vary based on experience and complexity but generally takes 1-3 hours for beginners.
3. Is injection molding safe?
Yes, as long as you follow safety protocols. Always wear protective gear and ensure the machine is in good working condition.
4. What should I do if the machine overheats?
Shut down the machine immediately and allow it to cool. Check for blockages in the heating elements and consult the manufacturer’s guidelines.
5. How often should I maintain my injection molding machine?
Regular maintenance is key to longevity. Perform daily checks and schedule comprehensive maintenance every few months, depending on usage.
Conclusion
Setting up an injection molding machine may seem intimidating, but with careful planning and attention to detail, it can be a smooth process. By following this guide, you’ll be well-equipped to create high-quality parts and troubleshoot any issues that arise. As you gain experience, you’ll discover the nuances that make injection molding an efficient and rewarding manufacturing technique.


I appreciate your work, thankyou for all the informative blog posts.