Label machine sizing adjustment is a critical aspect of the packaging process, ensuring that labels are applied accurately and efficiently to products or packaging. From adjusting the size of labels to aligning them with product dimensions, mastering this process is essential for maintaining product quality and brand consistency.
Content:
- Label Machine Sizing Adjustment
In this guide, we will explore the importance of label machine sizing adjustment, along with practical tips and techniques for achieving optimal results in your packaging operations. Here’s a general guide on how to adjust these settings:
- Access Control Panel:
- Locate the control panel or interface on the label machine. This is where you’ll access the settings for adjusting size and timing.
- Enter Settings Mode:
- Depending on the model of the label machine, there may be a specific button or menu option to enter the settings mode. Consult the user manual for instructions on how to access this mode.
- Adjust Label Size:
- Look for the parameter related to label size or dimensions. This may be labeled as “Label Size,” “Label Length,” or something similar.
- Use the controls on the interface to input the desired dimensions for the labels you’re using. This typically involves specifying the length and width of the labels.
-
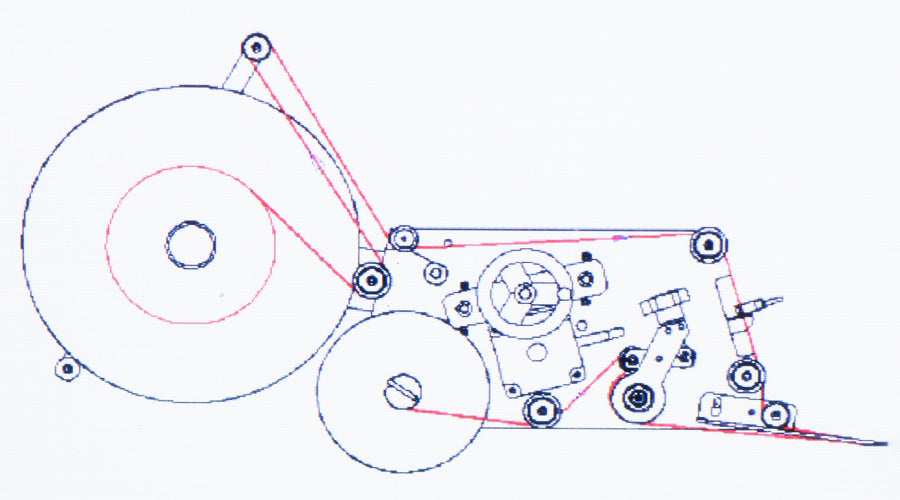
Install the label roll

-
Install the label sensor

-
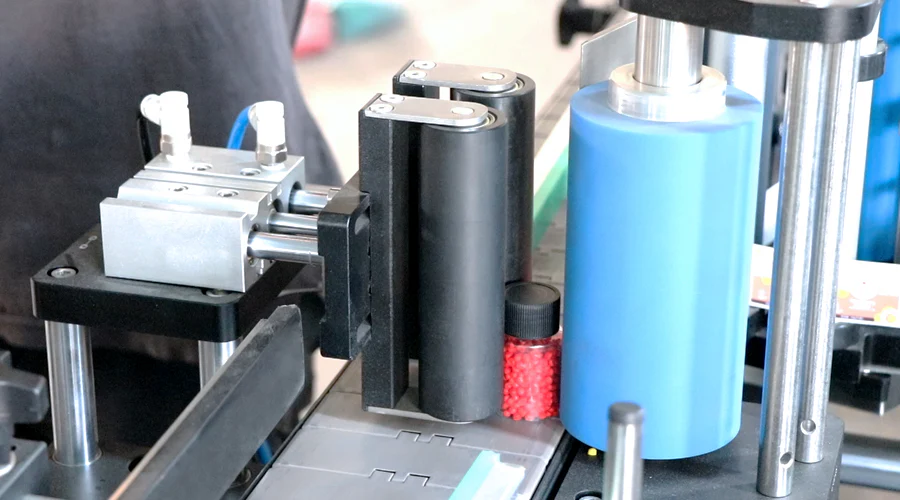
Adjust the width of the conveyor

-
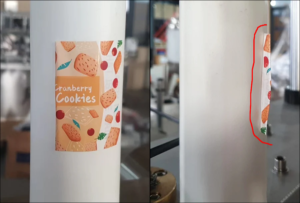
Adjust the position of the Labeling

-
adjusting of labeling slide

- Set Timing Parameters:
- Timing parameters control various aspects of the labeling process, such as the duration of label application, conveyor speed, and other machine operations.
- Look for timing-related settings such as “Labeling Speed,” “Conveyor Speed,” “Dispensing Time,” or “Cycle Time.”
- Adjust these parameters according to your production requirements. For example, you may need to increase the labeling speed for higher throughput or adjust the dispensing time to ensure accurate label application.

- Save Changes:
- After adjusting the size and timing parameters, there should be an option to save the changes. Follow the prompts on the control panel or interface to confirm and save your settings.
- Test Operation:
- Before running the label machine at full production speed, perform a test run to ensure that the adjusted parameters are functioning as expected. This allows you to make any necessary fine-tuning before proceeding with actual production.
- Finalize Settings:
- Once you’re satisfied with the adjusted parameters and have tested the operation, exit the settings mode and return the label machine to its normal operating mode.
- Documentation:
- Keep a record of the adjusted settings for future reference. This documentation can be helpful for troubleshooting or replicating settings on similar label machines.
If you encounter any difficulties or have specific questions about adjusting the size and timing on your label machine, refer to the user manual provided by the manufacturer or contact their customer support for assistance. They can provide guidance tailored to your specific machine model and configuration.

